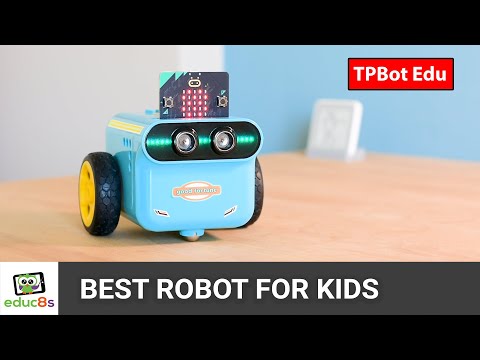
In this video, I'm taking a look at a truly revolutionary piece of tech for educational robotics: the ELECFREAKS Smart AI Lens Kit for the TPBOT. I've seen a lot of great tools in the DIY space over the years, but this AI camera has genuinely blown my mind. If you're looking...
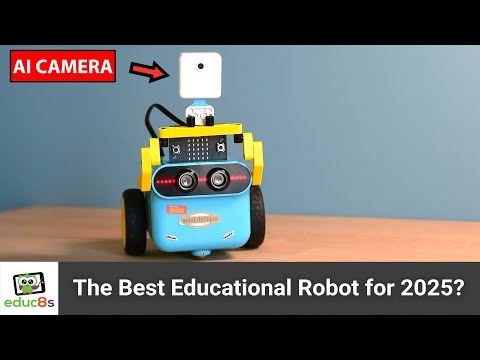
In this video, I'm taking a look at a truly revolutionary piece of tech for educational robotics: the ELECFREAKS Smart AI Lens Kit for the TPBOT. I've seen a lot of great tools in the DIY space over the years, but this AI camera has genuinely blown my mind.
If you're looking for a way to get kids excited about coding, robotics, and artificial intelligence, this is it. This little sensor can do everything from recognizing playing cards and tracking balls to being trained to recognize your own custom objects.
We put it to the test with a team of young coders, and they built some incredible projects, including a robot that can play blackjack! The combination of this powerful AI camera with the easy-to-use block-based programming of the micro:bit makes for an unparalleled learning experience.
Watch the video to see what this AI camera can do, how easy it is to program, and why I believe it's a true game-changer in educational robotics.
Links to Products & Resources:
ELECFREAKS TPBOT: https://educ8s.tv/part/TPBOT
ELECFREAKS Smart AI Lens Kit: https://educ8s.tv/part/AILENS
0:00 - Introduction to the TPBOT & ELECFREAKS AI Camera
1:54 - Demonstration of AI Camera's Pre-loaded Functions (Card & Ball Tracking)
3:04 - Programming the AI Camera with Micro:bit (Drag-and-Drop AI)
4:07 - How to Teach the Camera to Recognize New Objects (Charlie Munger Bust)
5:10 - Putting It to the Test: Kids' Projects (Find the Ball & Blackjack Robot)
6:49 - Final Thoughts & Conclusion
#EducationalRobots #AI #Robotics #TPBOT #ELECFREAKS #AIVision #CodingForKids #DIY #STEM #Review